Introductory practical training
Lessons, guided bench practicals and a mini project, with a mentor checking your circuits and code at regular checkpoints.
Use your summer or winter break to build your first connected device and a small moving robot. In 45 days you learn electronics basics and safe lab practice, Arduino and embedded C/C++, sensors, motors, ESP32 Wi-Fi and MQTT dashboards, and finish with a mini project you can demonstrate.
Ask for the syllabus or session plan, fee, hardware kit arrangements, schedule and certificate criteria in writing before paying. If your college requires academic training, get its written approval first.
Overview
The Internet of Things connects sensors, controllers and actuators to networks so devices can report data and respond to commands; robotics adds movement and control. Forty-five days is a structured introduction: wire circuits safely, write firmware, read sensors, drive motors, send data to a dashboard and complete one small, working project.
This is introductory practical training, not an employment internship. Some universities ask for summer or industrial training of a set length; whether this programme meets that requirement is for your college to decide, so check before you join.
Lessons, guided bench practicals and a mini project, with a mentor checking your circuits and code at regular checkpoints.
Many colleges require 4–6 weeks of summer or industrial training. Your department sets the rules, the documents and whether this programme counts.
An internship places you in supervised work inside an organisation. This training does not, and it does not include client projects or a stipend.
Power supplies, lithium batteries, motors and soldering irons can hurt people and damage parts. Safe lab practice is taught on day one and checked throughout.
Who can apply
An entry assessment checks your programming and electronics background so the pace suits you. Confirm eligibility, kit arrangements and any college permission before enrolling.
Bring programming and networking knowledge to embedded firmware, MQTT messaging and dashboards during a summer training window.
Connect circuit theory and microcontroller subjects with working sensor nodes, motor drivers and a documented prototype.
Start from programming, then add electronics basics and device-to-cloud communication. Expect extra support in the circuit sessions.
Diploma electronics and electrical students often bring useful bench skills. Eligibility depends on starting skills and college requirements.
An early start lets you explore IoT and robotics before choosing electives, a longer programme or a final-year project.
No electronics background is assumed. Curiosity, care at the bench and daily practice matter more than prior experience.
Why 45 days?
Forty-five days fits a summer or winter vacation and is long enough to practise electronics, firmware, connectivity and motor control once each and finish a mini project. It is not long enough to master embedded systems or robotics, and it promises no job, placement or academic credit.
Fits between semesters without competing with classes and examinations, so you can spend steady time at the bench.
Simulate a circuit, then build it on a breadboard. Seeing a sensor reading change on your own hardware makes the theory stick.
A working device with a circuit diagram, commented code, a test log and a short demo video.
Checking power before connecting, handling batteries carefully and soldering safely become routine, not afterthoughts.
Training does not guarantee a job, and only your college can decide whether it counts towards a requirement.
Tools & technologies
Taught in the order a prototype is built: electronics and simulation first, then microcontrollers and firmware, then sensors, connectivity and motors. Safe lab practice runs through every session. Ask for the session plan and the hardware your batch uses.
Voltage, current, resistance, breadboards, multimeters and datasheets — plus safe handling of power supplies, lithium batteries and the soldering iron.
Trying circuits and code in Tinkercad Circuits and Wokwi before touching hardware, so mistakes cost nothing.
Digital and analogue I/O, timing, serial debugging and libraries — the foundation for reading sensors and driving outputs.
Variables, functions, conditions and non-blocking code, so firmware keeps responding instead of freezing on a delay.
Temperature, humidity, distance, motion and light sensors; relays, servos and buzzers; calibration and why a reading can be wrong.
Connecting an ESP32 to Wi-Fi, handling reconnects and sending sensor data from the device to a network.
Publish/subscribe messaging with topics and a broker, and a simple Node-RED or Firebase dashboard for live readings.
DC and servo motors through a driver board, PWM speed control and a simple obstacle-avoiding or line-following robot.
Syllabus & learning roadmap
The pace depends on your entry assessment. Each day follows the same pattern: a clear objective, a guided practical, an independent task and a mentor checkpoint. Confirm contact hours, bench access and kit arrangements for your batch.
Entry assessment, lab safety with power supplies, batteries and soldering, Ohm's law, breadboards, multimeter use and first circuits in Tinkercad and Wokwi. Outcome: a simulated and a breadboarded circuit with a safety checklist.
Digital and analogue I/O, timing, serial debugging, functions and non-blocking code. Outcome: an Arduino sketch that reads inputs and controls outputs reliably.
Temperature, distance, motion and light sensors; relays, servos and buzzers; calibration and noise. Outcome: a sensor station that reacts to readings, with a test log.
Wi-Fi on the ESP32, reconnect logic, MQTT topics and a broker, and sending readings from the device. Outcome: a sensor node publishing data over MQTT.
Node-RED flows and a Firebase dashboard for live values and alerts, plus a first look at the Raspberry Pi and Python GPIO. Outcome: a dashboard showing live sensor data.
DC and servo motors through driver boards, PWM speed control, safe battery use and simple sensor-based movement. Outcome: a small robot that avoids obstacles or follows a line.
Plan, build and test one small IoT or robotics project: circuit diagram, firmware, connectivity or movement, and a safety review. Outcome: a working demonstration, a project report, a short demo video and mentor feedback.
Course vs training vs internship
Colleges use “summer training”, “industrial training” and “internship” differently. Your university handbook and department coordinator decide what counts — not the programme title.
Mini project
Certificate & deliverables

Issued on finishing the programme, with a QR code and certificate ID anyone can verify.

A separate certificate naming the live project you designed and built during training.
Project ideas
Each is sized for the last week of a 45-day programme: a few components, safe low-voltage power and a clear test plan, documented in a short report.
Temperature and humidity readings sent over MQTT to a live dashboard.
A soil moisture sensor that triggers an alert when the plant needs water.
An ultrasonic sensor and two DC motors on a small battery-powered chassis.
Infrared sensors and PWM motor control to follow a track.
Motion or distance sensors counting entries, shown on a dashboard.
An ESP32 switching an LED strip from a web page or Node-RED button — low voltage only.
An ultrasonic sensor and buzzer that beeps faster as an object gets closer.
A gas sensor reading with threshold alerts, clearly labelled as a learning prototype, not a safety device.
A distance sensor that opens a lid with a servo when a hand approaches.
How to apply
Six steps, so you know what is agreed before you pay and how you are assessed at the end.
Share your degree, semester, preferred start date and whether your college requires academic training.
Discuss your goals, the batch or self-study format, timings, fee, hardware kit and the documents you need.
A short entry assessment of your programming and electronics background sets your starting point and pace.
Agree the session plan, kit and mini project direction in writing before registration.
Meet your mentor, take the lab safety briefing and learn the daily routine and checkpoint schedule.
Attendance is recorded, the mini project is evaluated and you receive written feedback.
College requirements
Ask your training and placement cell which documents it needs before you pay, and ask techcadd to confirm which it can genuinely issue.
Requirements differ between universities and departments. If your college needs academic training, get its written approval before enrolling. A training certificate alone may not satisfy a university requirement.
Duration & batches
The most common window for 45 days of summer training after the even semester. Book early if your college has a fixed submission date.
A shorter break may need a more intensive daily plan. Ask how the 45-day schedule and bench time adapt to it.
Weekday batches move faster; weekend or part-time arrangements take longer to cover the same plan.
Ask for the actual start date, daily timings, lab hours and holidays for your batch rather than relying on a banner.
Eligibility, fees & what is included
No fee is published here. Ask for the current fee in writing and exactly what it covers — especially the hardware kit — before you pay.
Basic computer skills and some programming practice help. No electronics background is assumed; you must follow the lab safety rules for power, batteries and soldering at all times.
Career scope
Forty-five days is a starting point. These are entry-level roles you might work towards with further study and practice — not roles this training promises:
This training does not guarantee employment or placement. Projects you can demonstrate and explain matter more than a certificate.
Extend your mini project, try a new sensor or board, and document each build with diagrams and code on GitHub.
Strengthen C/C++ and Python, and study networking, Linux and control systems in more depth.
The natural next step is the six-month IoT and robotics programme, with time for Raspberry Pi, ROS and a full demonstrator.
Why students consider techcadd
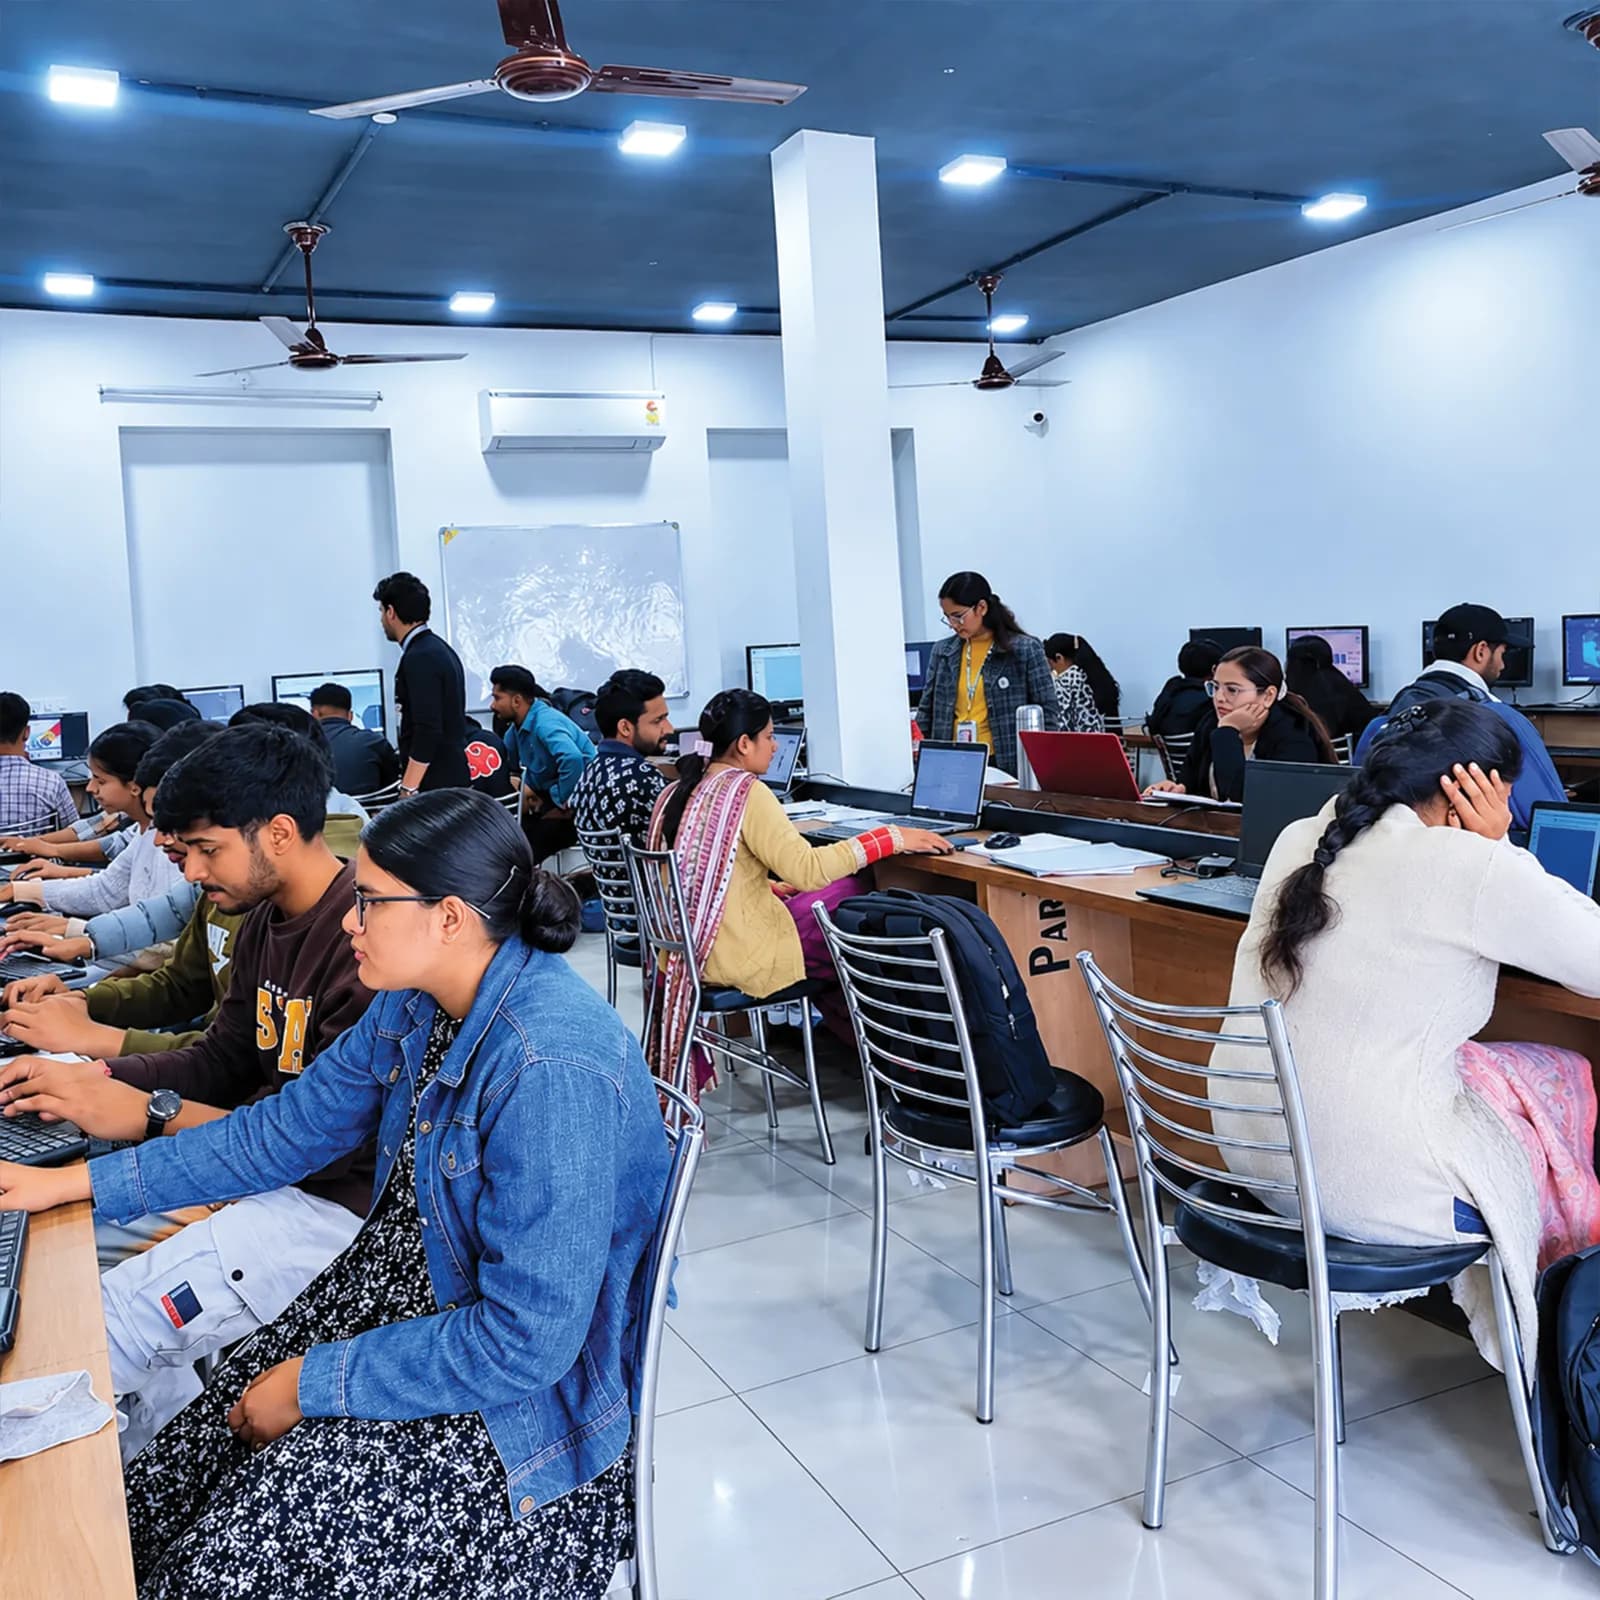
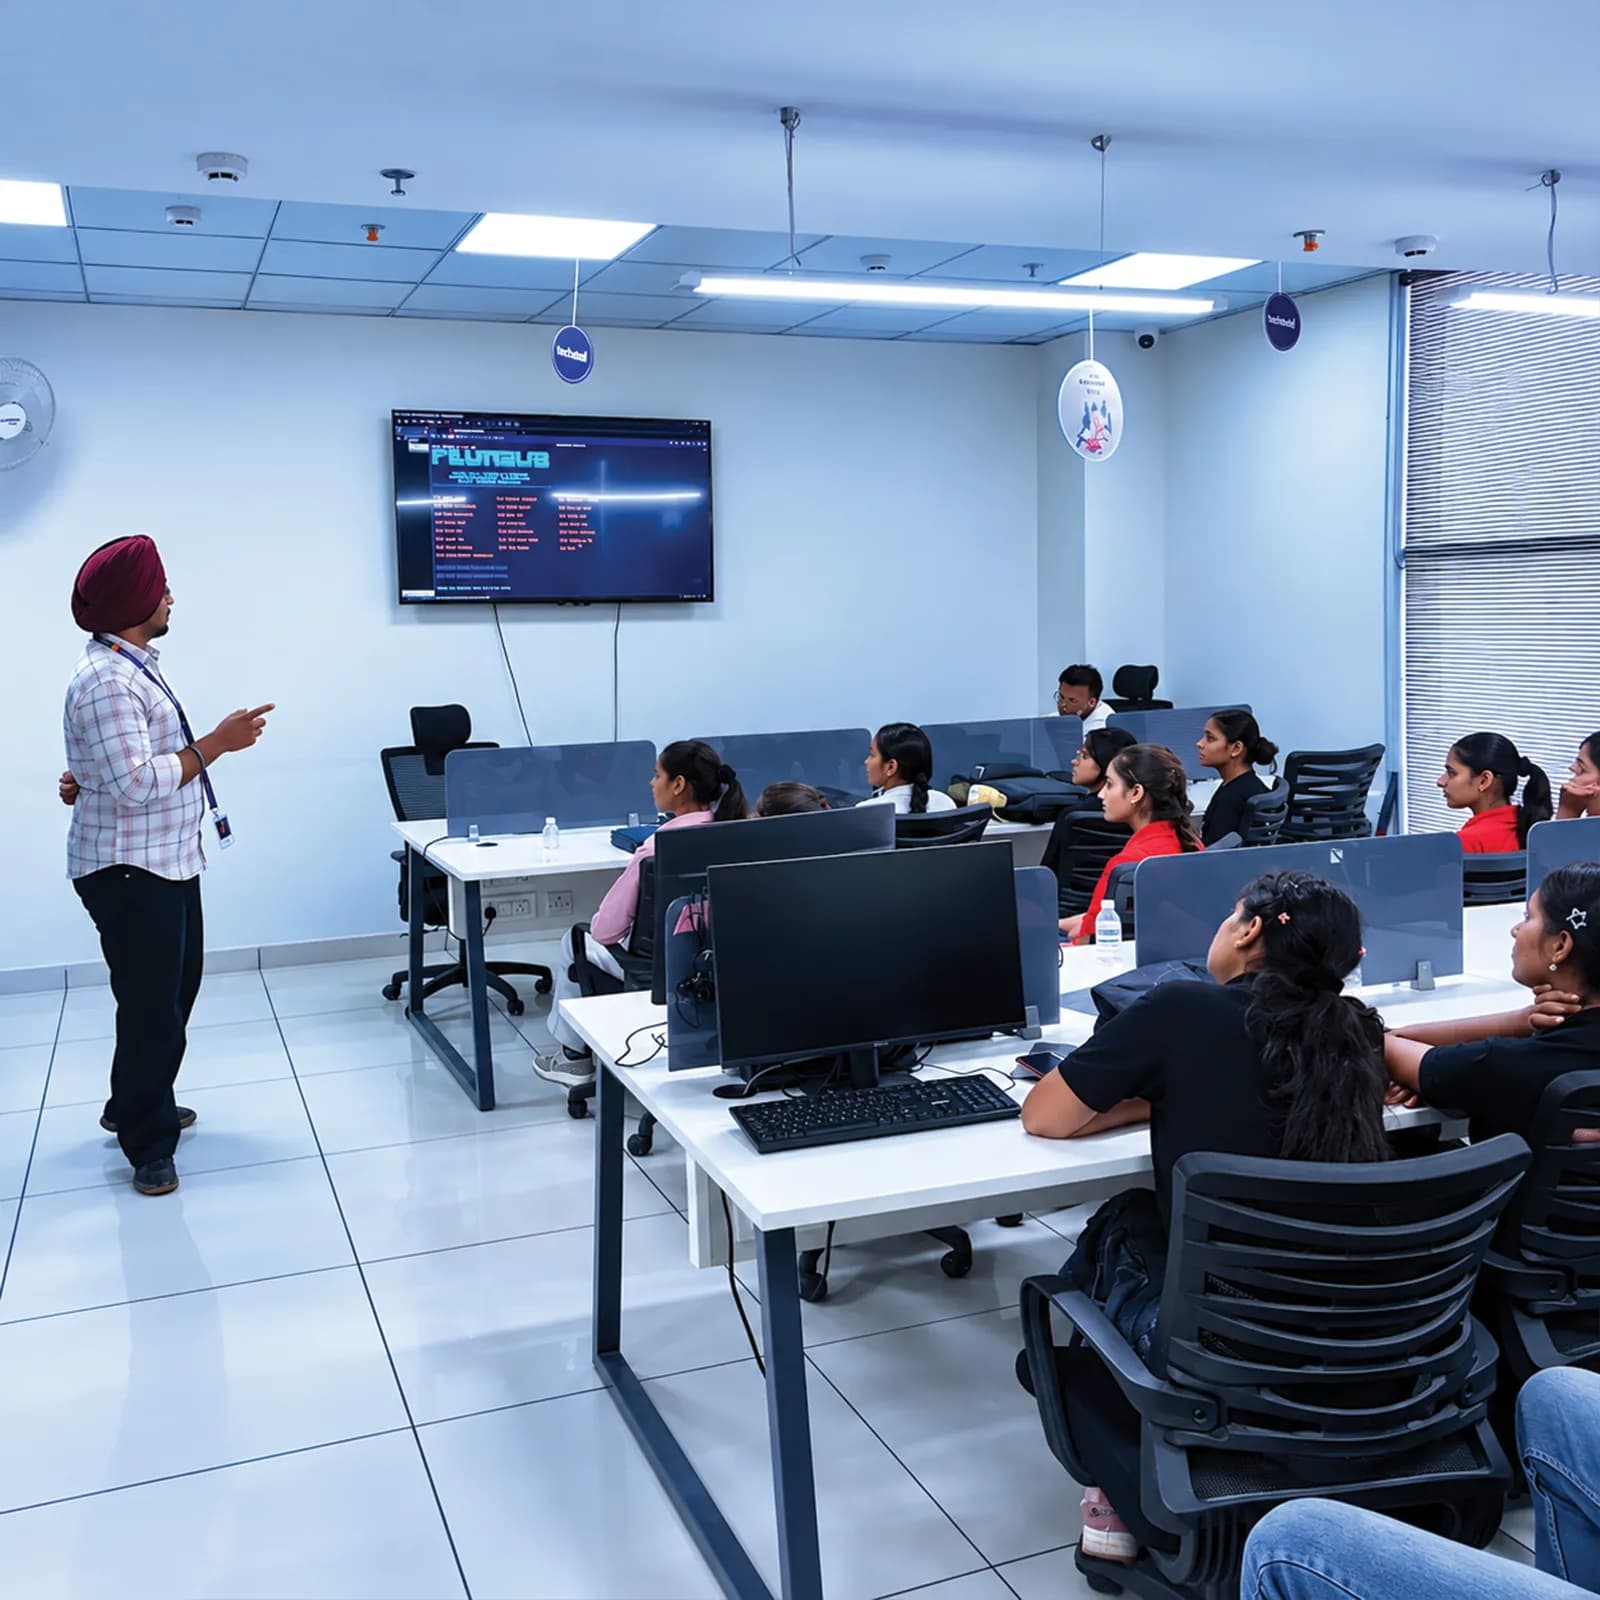
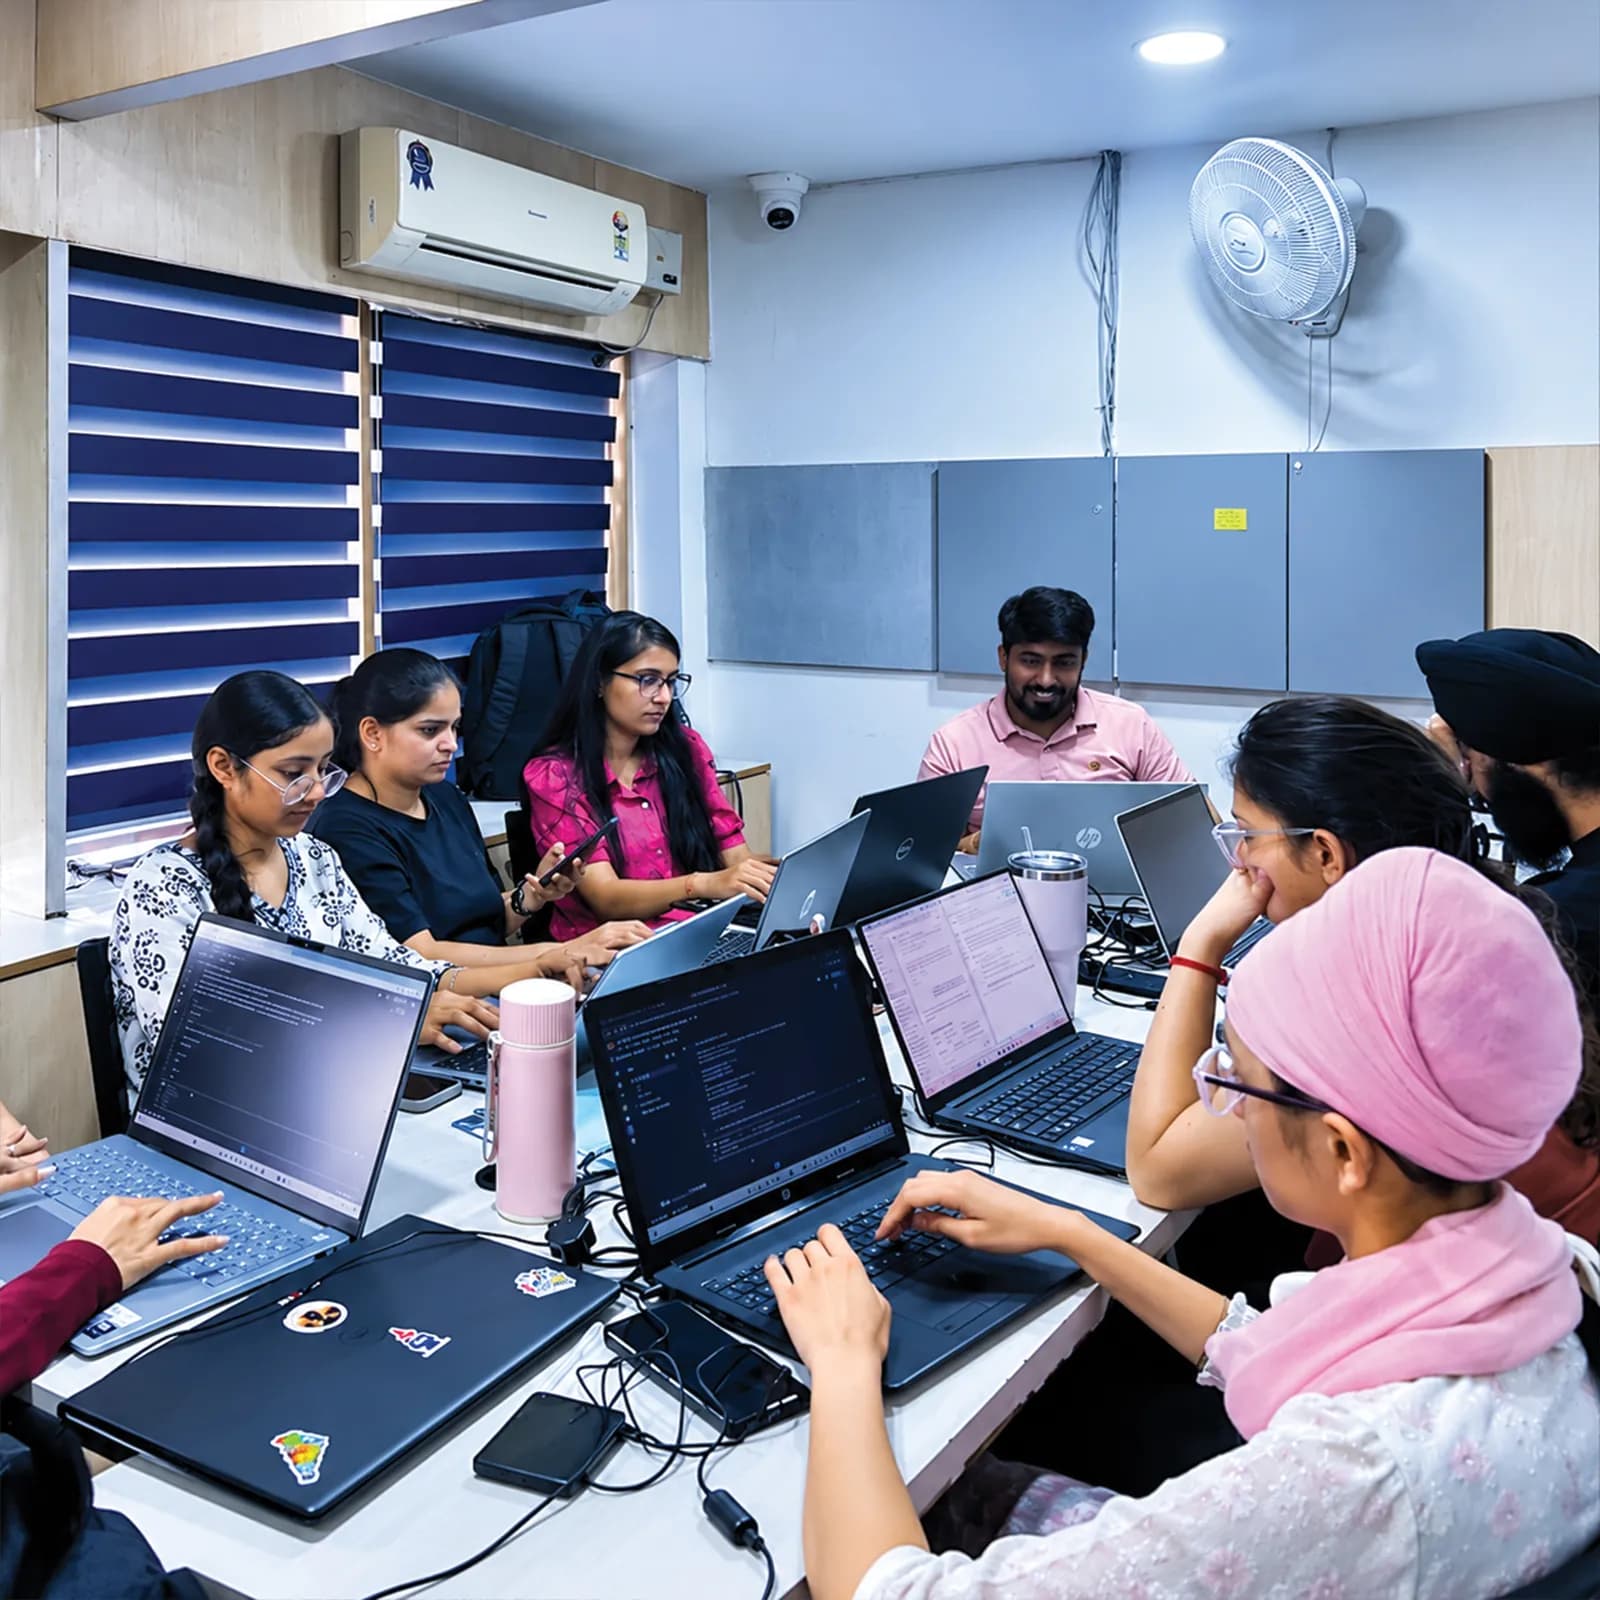
Ask about the mentor's experience, batch size, bench time, available components and safety practice — and ask to see sample student projects shared with permission.
Objective, guided practical, independent task and mentor checkpoint, so you always know what each day is for.
Hands-on time with Arduino, ESP32, sensors and motors, plus Tinkercad and Wokwi for safe experiments first.
Fee, kit, documents, certificate criteria and assessment explained in writing before admission.
Visit the centre, meet the mentors and look at the lab and its safety arrangements before you confirm a batch.
The centre is at 2nd Floor, Crystal Plaza, SCS 78, Opposite PIMS Hospital, Jalandhar. Check your travel time, lab hours and daily timings against your vacation plans before you join.
techcadd Jalandhar — 2nd Floor, Crystal Plaza, SCS 78, Opposite PIMS Hospital, Jalandhar, Punjab 144001Frequently asked questions
Answers can differ by college, semester and batch — confirm any academic requirement directly with your institution.
It is enough for a structured introduction and one small working project. It is not enough to master embedded systems or robotics; plan further practice or a longer programme.
Mainly Arduino and ESP32, with a first look at the Raspberry Pi. Ask which hardware your batch uses.
Ask whether a kit is included in the fee, lent for lab use or bought separately, and whether you keep it afterwards.
Sessions use low-voltage circuits. You are taught safe use of power supplies, lithium batteries and soldering irons on day one, and mains wiring is not part of the training.
It is summer or winter practical training, not an employment internship. You are not placed in an organisation or paid a stipend.
Only your college can decide. Get its written approval before enrolling if you need academic training.
Ask techcadd which documents it can issue — joining letter, attendance record, completion certificate — and whether they can follow your college's format.
Ask about lab availability. A personal laptop helps for coding and simulation between sessions; ask for the recommended specification.
Yes. Electronics basics are taught from the start, with extra support in the circuit sessions.
Yes, if you have time for daily practice. The entry assessment sets your pace.
Yes. No electronics or programming background is assumed, but expect extra practice in the first two weeks.
Embedded C/C++ on Arduino and ESP32, with a little Python on the Raspberry Pi.
No. This is introductory training; it does not guarantee a job or placement.
No fee is published here. Ask for the current fee, taxes, hardware kit, materials and refund policy in writing.
Keep building projects, strengthen C/C++ and Python, or continue to the six-month IoT and robotics programme.
Send an enquiry from this page or call +91 98881 22254, share your degree and semester, and ask for the session plan, kit details and joining details.
techcadd Jalandhar is at 2nd Floor, Crystal Plaza, SCS 78, Opposite PIMS Hospital, Jalandhar, Punjab 144001. Visit for counselling and to see the lab before you confirm a batch.
Apply
Looking for 45 days IoT and robotics training in Jalandhar, Arduino summer training or a first robotics project? Tell us your degree, semester, college requirements and preferred start date, and ask for the session plan, fee, kit and documents before you enrol.