IoT is not just blinking LEDs
A demo that works once on the bench can still fail with a loose wire, a weak power supply or a dropped Wi-Fi connection. The goal is engineering judgement — testing, debugging and documenting — not copied sketches.
Make your final semester count. Build connected devices and small robots with Arduino, ESP32, Raspberry Pi, embedded C/C++, Python, MQTT and Node-RED — sensors, motors, cloud dashboards and safe, methodical testing through a structured six-month pathway — and check whether the format fits your university requirements.
Ask for the current fee, format, schedule, hardware arrangements, project supervision and certificate details in writing before enrolling.
Overview
The Internet of Things connects physical devices — sensors, controllers and actuators — to networks so they can report data and respond to commands. Robotics adds movement, control and decision-making. Six months gives you time to practise the whole process: read a datasheet, wire a circuit safely, write firmware, send data over a network, show it on a dashboard and make something move reliably.
A workplace internship usually includes supervised responsibilities in an organisation; industrial training centres on instruction, lab work and guided projects. Both can be valuable, but they are not interchangeable — ask who supervises the work, what deliverables are required and which documents your university accepts.
A demo that works once on the bench can still fail with a loose wire, a weak power supply or a dropped Wi-Fi connection. The goal is engineering judgement — testing, debugging and documenting — not copied sketches.
IoT is about sensing and connecting; robotics is about acting and controlling. Both rely on the same electronics, microcontrollers and careful code.
Hardware work needs bench time, components and a mentor who can look at your circuit. A nearby centre makes lab sessions and project reviews easier to reach around semester classes.
Compare mentor availability, lab equipment, safety practice, project depth, feedback, assessment and clear administrative processes before choosing any six-month programme.
Who can apply
Whatever your degree, check eligibility, assessment standards, attendance rules, lab and component access and university permission before enrolling.
Connect circuit theory, digital electronics and microcontroller subjects with working sensor nodes, motor drivers and documented prototypes.
Bring programming, networking and operating-systems knowledge to embedded firmware, MQTT messaging, dashboards and Linux on the Raspberry Pi.
Apply mechanics and control ideas to motor control, robot chassis, sensors for position and distance, and safe test procedures.
Start from programming and data handling, then add electronics basics, device-to-cloud communication and dashboards. Extra support may be needed for the circuit modules.
Diploma electronics and electrical students often bring useful bench skills. Eligibility depends on starting skills and academic requirements.
Plan the demonstrator around your department's project rules, review dates and viva — not around a one-size-fits-all promise.
Why a six-month IoT path?
Wiring, firmware, networking and control each take repeated practice, and hardware fails in ways software does not. A semester gives each of them room.
Loose connections, noisy sensors and power problems take patience. A semester-long plan leaves time to find faults methodically instead of rushing demos.
Circuit diagrams, commented firmware, test logs, a dashboard and a short video of the demonstrator working — and a note on what it cannot yet do.
Working with power supplies, batteries, motors and a soldering iron safely is a skill in itself. Six months lets those habits become routine.
Compare embedded, IoT, firmware, automation and robotics-related roles before committing to a specialisation or further study.
A structured project helps you practise reporting and viva presentations — but acceptance as compulsory industrial training depends on your college or university.
Tools & technologies
Taught in the order a prototype is built: electronics and simulation first, then microcontrollers and firmware, then networking, dashboards and robotics. Safe lab practice runs through every module. Ask for the module-by-module list and the hardware your batch uses.
Voltage, current, resistance, breadboards, multimeters, datasheets and power budgets — plus safe handling of power supplies, lithium batteries and the soldering iron.
Trying circuits and code in Tinkercad Circuits and Wokwi before touching hardware, so mistakes cost nothing and designs can be shared.
Digital and analogue I/O, timing, interrupts, serial debugging and libraries — the foundation for reading sensors and driving outputs.
Variables, functions, bit manipulation, non-blocking code and state machines — firmware that keeps running instead of freezing on a delay.
Temperature, humidity, distance, motion and light sensors; relays, servos and buzzers; calibration, noise and why a reading can be wrong.
Wi-Fi and Bluetooth on the ESP32, reconnect logic, low-power ideas and sending sensor data from the device to a network.
Publish/subscribe messaging, topics and brokers, then wiring flows in Node-RED to process, store and act on device data.
Linux on a single-board computer, GPIO with Python, running a local broker or dashboard, and when a Pi suits a job better than a microcontroller.
Storing readings and showing them on dashboards with Firebase or Grafana — live values, history, alerts and access control basics.
DC, servo and stepper motors through driver boards, PWM speed control, simple feedback, and the core ROS ideas of nodes, topics and messages.
Syllabus & learning roadmap
Each month ends in a deliverable. A typical week holds one concept lesson, one guided lab, one independent exercise and one review — confirm contact hours, bench access and mentor arrangements for your batch.
Ohm's law, breadboards, multimeter use, datasheets and power budgets; safe practice with power supplies, batteries and soldering; first circuits in Tinkercad and Wokwi. Deliverable: a simulated and a breadboarded circuit with a safety checklist.
Digital and analogue I/O, serial debugging, timing without blocking delays, functions and state machines in embedded C/C++. Deliverable: a documented multi-input, multi-output Arduino project with a wiring diagram.
Reading and calibrating sensors, driving relays and servos, then moving to the ESP32 for Wi-Fi, reconnect logic and power considerations. Deliverable: a Wi-Fi sensor node with a calibration and test log.
MQTT brokers and topics, Node-RED flows, storing readings, and dashboards in Firebase or Grafana with alerts. Raspberry Pi with Python and Linux as a local gateway. Deliverable: an end-to-end device-to-dashboard system.
Motor drivers, PWM, servo and stepper control, simple feedback from encoders or distance sensors, and the basic ROS concepts of nodes, topics and messages. Deliverable: a small mobile robot or actuator rig with a test procedure.
Combine sensing, connectivity, control and a dashboard into one demonstrator. Test it, record its limits, document it and present it. Deliverable: final report, live or recorded demonstration, circuit diagrams and source code.
Course vs internship vs industrial training
Engineering colleges use “industrial training”, “six-month training” and “internship” differently. Your university handbook, department coordinator and academic policy decide what counts — not the programme title.
Real-world IoT & robotics projects
Certificates & deliverables
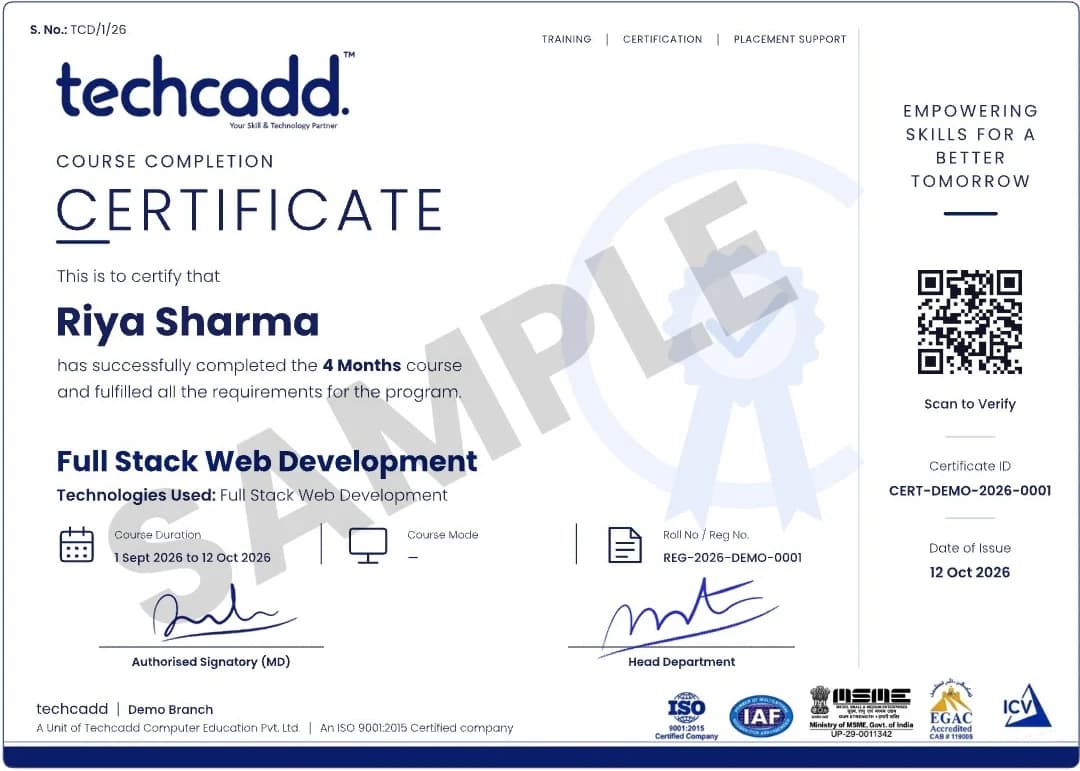
Issued on finishing the programme, with a QR code and certificate ID anyone can verify.
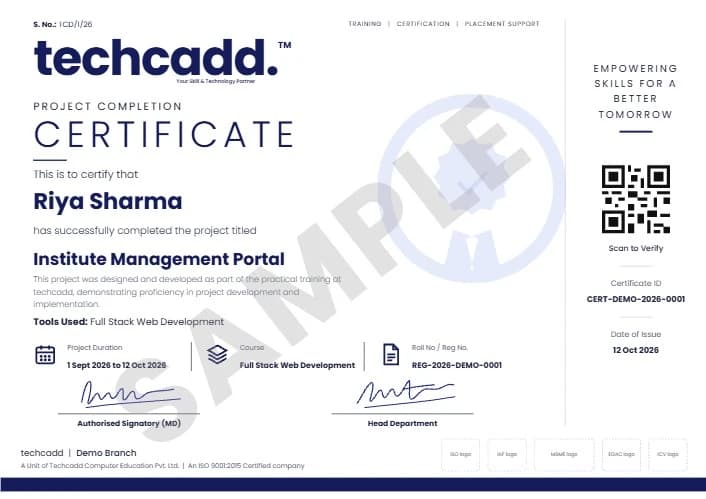
A separate certificate naming the live project you designed and built during training.
Project ideas
Each follows the same method: define who would use it and what it must do, simulate the circuit first, build and test in stages, keep power and wiring safe, and finish with a demonstration, a test log and a short presentation.
Temperature, humidity and air-quality readings from an ESP32, sent over MQTT to a dashboard with threshold alerts.
Soil-moisture sensing with a relay-controlled pump, manual override from a dashboard and a log of watering events.
A two-wheel chassis with ultrasonic or infrared sensors, motor driver control and a documented test course.
Infrared sensor array, PWM speed control and simple tuning, with notes on how lighting and surface affect results.
Safe, low-voltage current sensing on a demonstration load, with daily usage charts and the limits of the measurement.
Magnetic or motion sensors that publish events to Node-RED and send a notification, with privacy kept in mind.
A Pi running a local MQTT broker and Node-RED that collects data from several ESP32 nodes and keeps working offline.
A small servo-driven arm controlled from a web page or joystick, with safe limits on movement and power.
Distance sensors that mark bays as free or taken on a dashboard, tested for false readings and edge cases.
How to apply
Six steps, so you know what is confirmed in writing before you pay and what is assessed at the end.
Share your degree, branch, semester, preferred start month and whether your university requires a specific type of placement.
Review prerequisites, curriculum, format, hours, fees, hardware arrangements, project expectations and documentation.
Receive current programme details, policies, any component list and required approvals before registration.
Begin with electronics, safety and simulation, then Arduino, ESP32 and networking, with regular bench exercises.
Select a suitable demonstrator, plan build and test checkpoints and receive structured feedback.
Demonstrate the prototype, explain the circuit and code, and submit the report and portfolio materials.
University & college requirements
Ask your training and placement cell or department coordinator before paying, keep copies of written approvals, and ask techcadd to confirm which documents it can genuinely issue.
Requirements differ between universities and even departments. A practical checklist includes the department handbook, approval email, project scope, timetable, attendance method, evaluation rubric and final submission date. Do not assume an institute certificate alone satisfies a university internship requirement.
Duration, semester planning & batches
Six months can align with a final-semester calendar, but confirm the actual dates, weekly hours and holidays for your batch.
Plan around examinations, faculty reviews, report submission, commuting time and time to source any components.
Ask for the current intake month, batch format and seat availability rather than relying on an “admissions open” banner.
Guided labs are not enough on their own. Budget regular time each week for simulation, firmware and building — and do hardware work only where it is safe.
Eligibility, fees & what is included
Ask for the real programme fee in writing and what it includes. Hardware adds cost, so compare the total, including any kit, and the quality of supervision — not a headline discount.
Basic computer skills and school-level physics help; no prior electronics or coding is assumed for the first module. The level needed for firmware, networking and robotics depends on the batch and the complexity of your project.
Career scope
Entry-level roles you might work towards — job titles, hiring criteria and salaries vary by employer:
A six-month programme does not guarantee employment; a credible portfolio, documented prototypes and continuing practice support future applications.
Write and debug microcontroller code, read datasheets, bring up new boards and test hardware against its specification.
Connect devices to brokers, gateways and dashboards, keep data flowing reliably and troubleshoot problems in the field.
Work with motors, sensors and control logic on robots or automated equipment, often alongside mechanical and electrical teams.
Why students consider techcadd
Ask about instructor experience, class size, bench time, available boards and components, safety practice, project feedback and mentoring — and ask to see sample prototypes and student work published with permission.
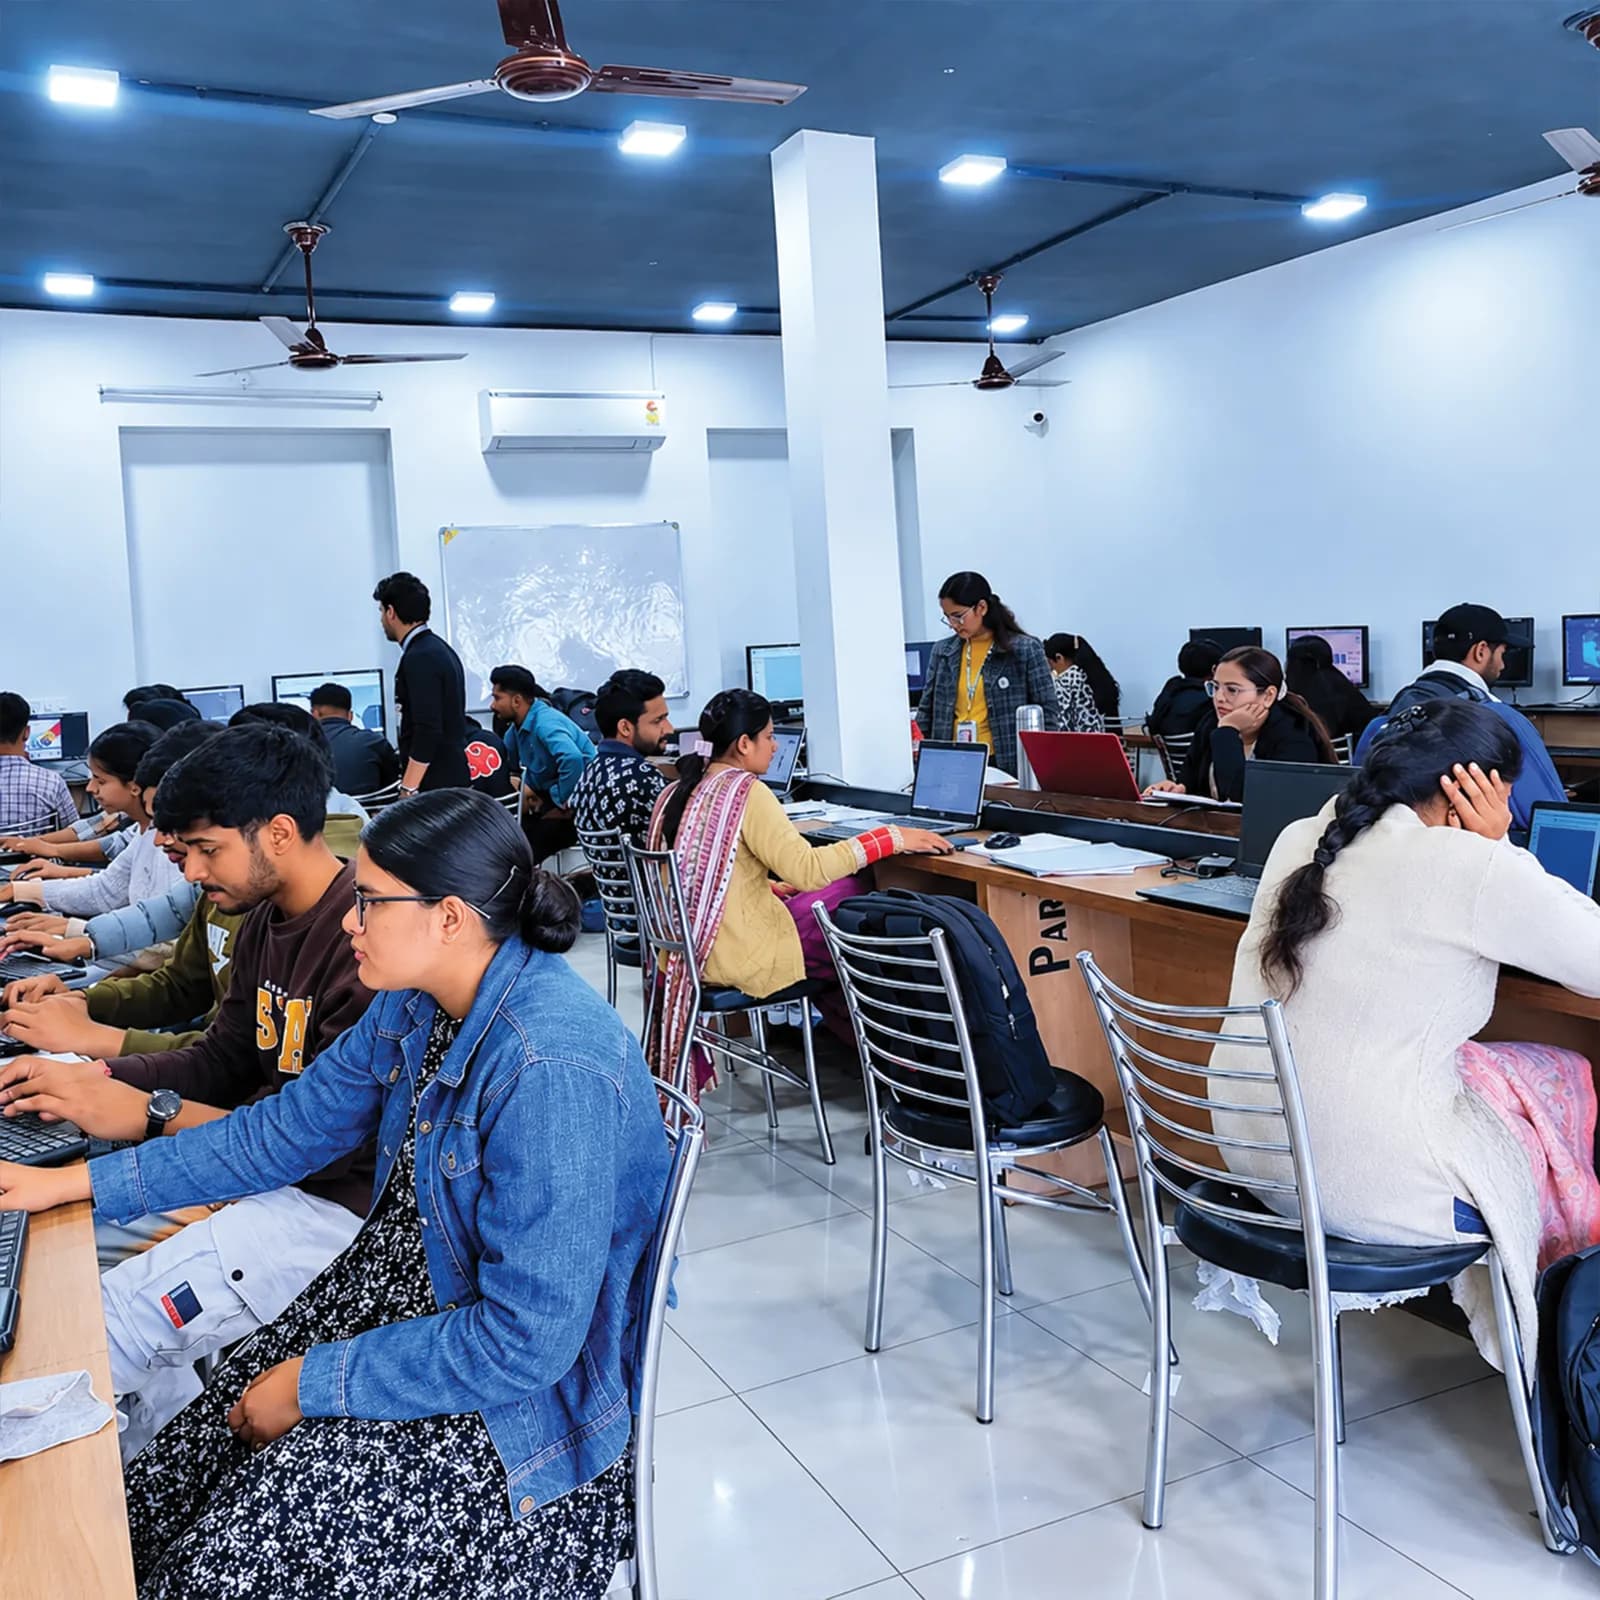
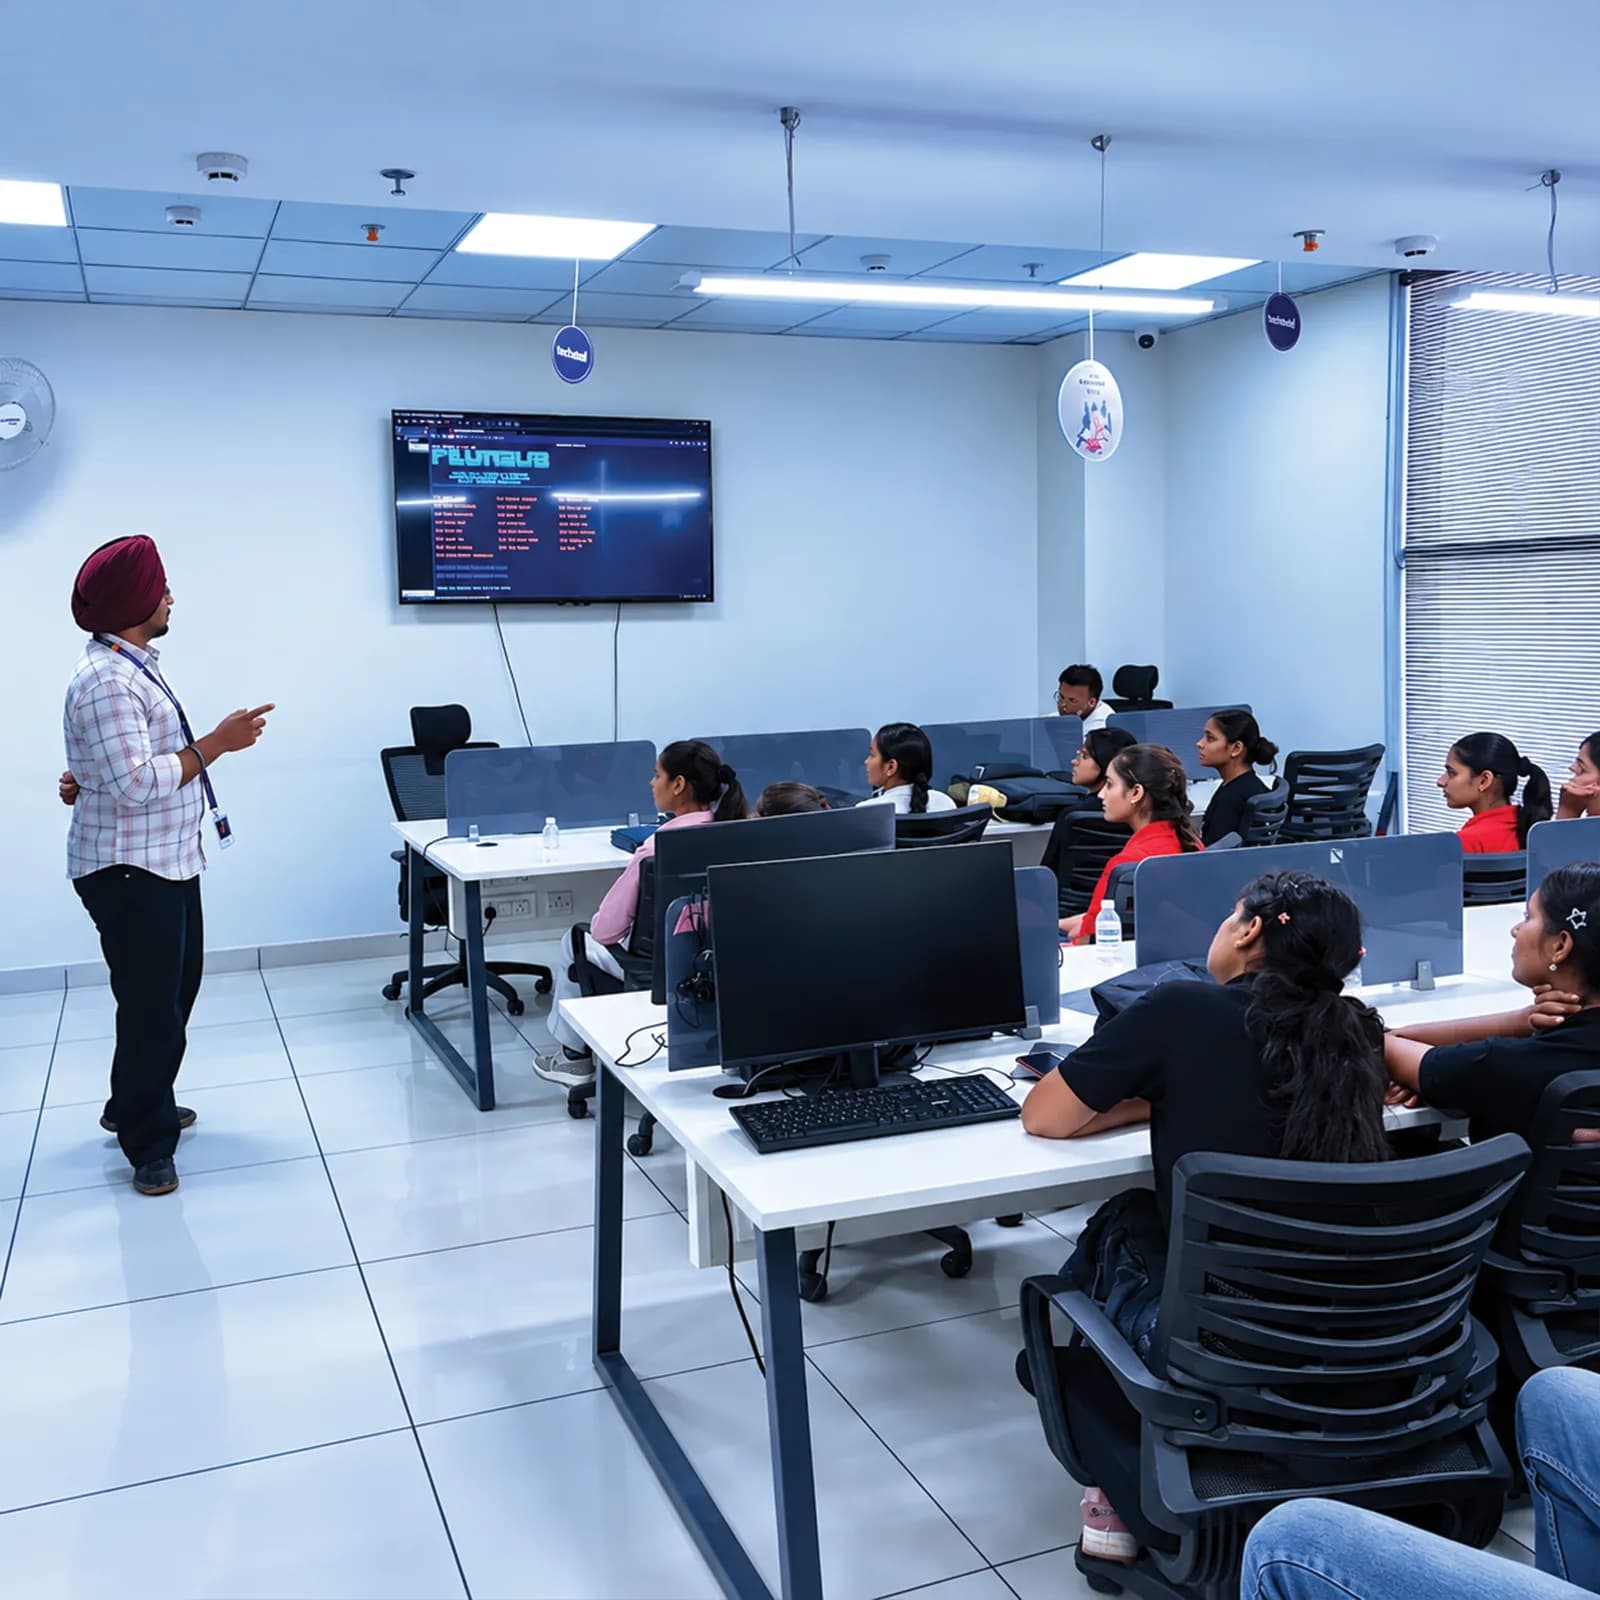
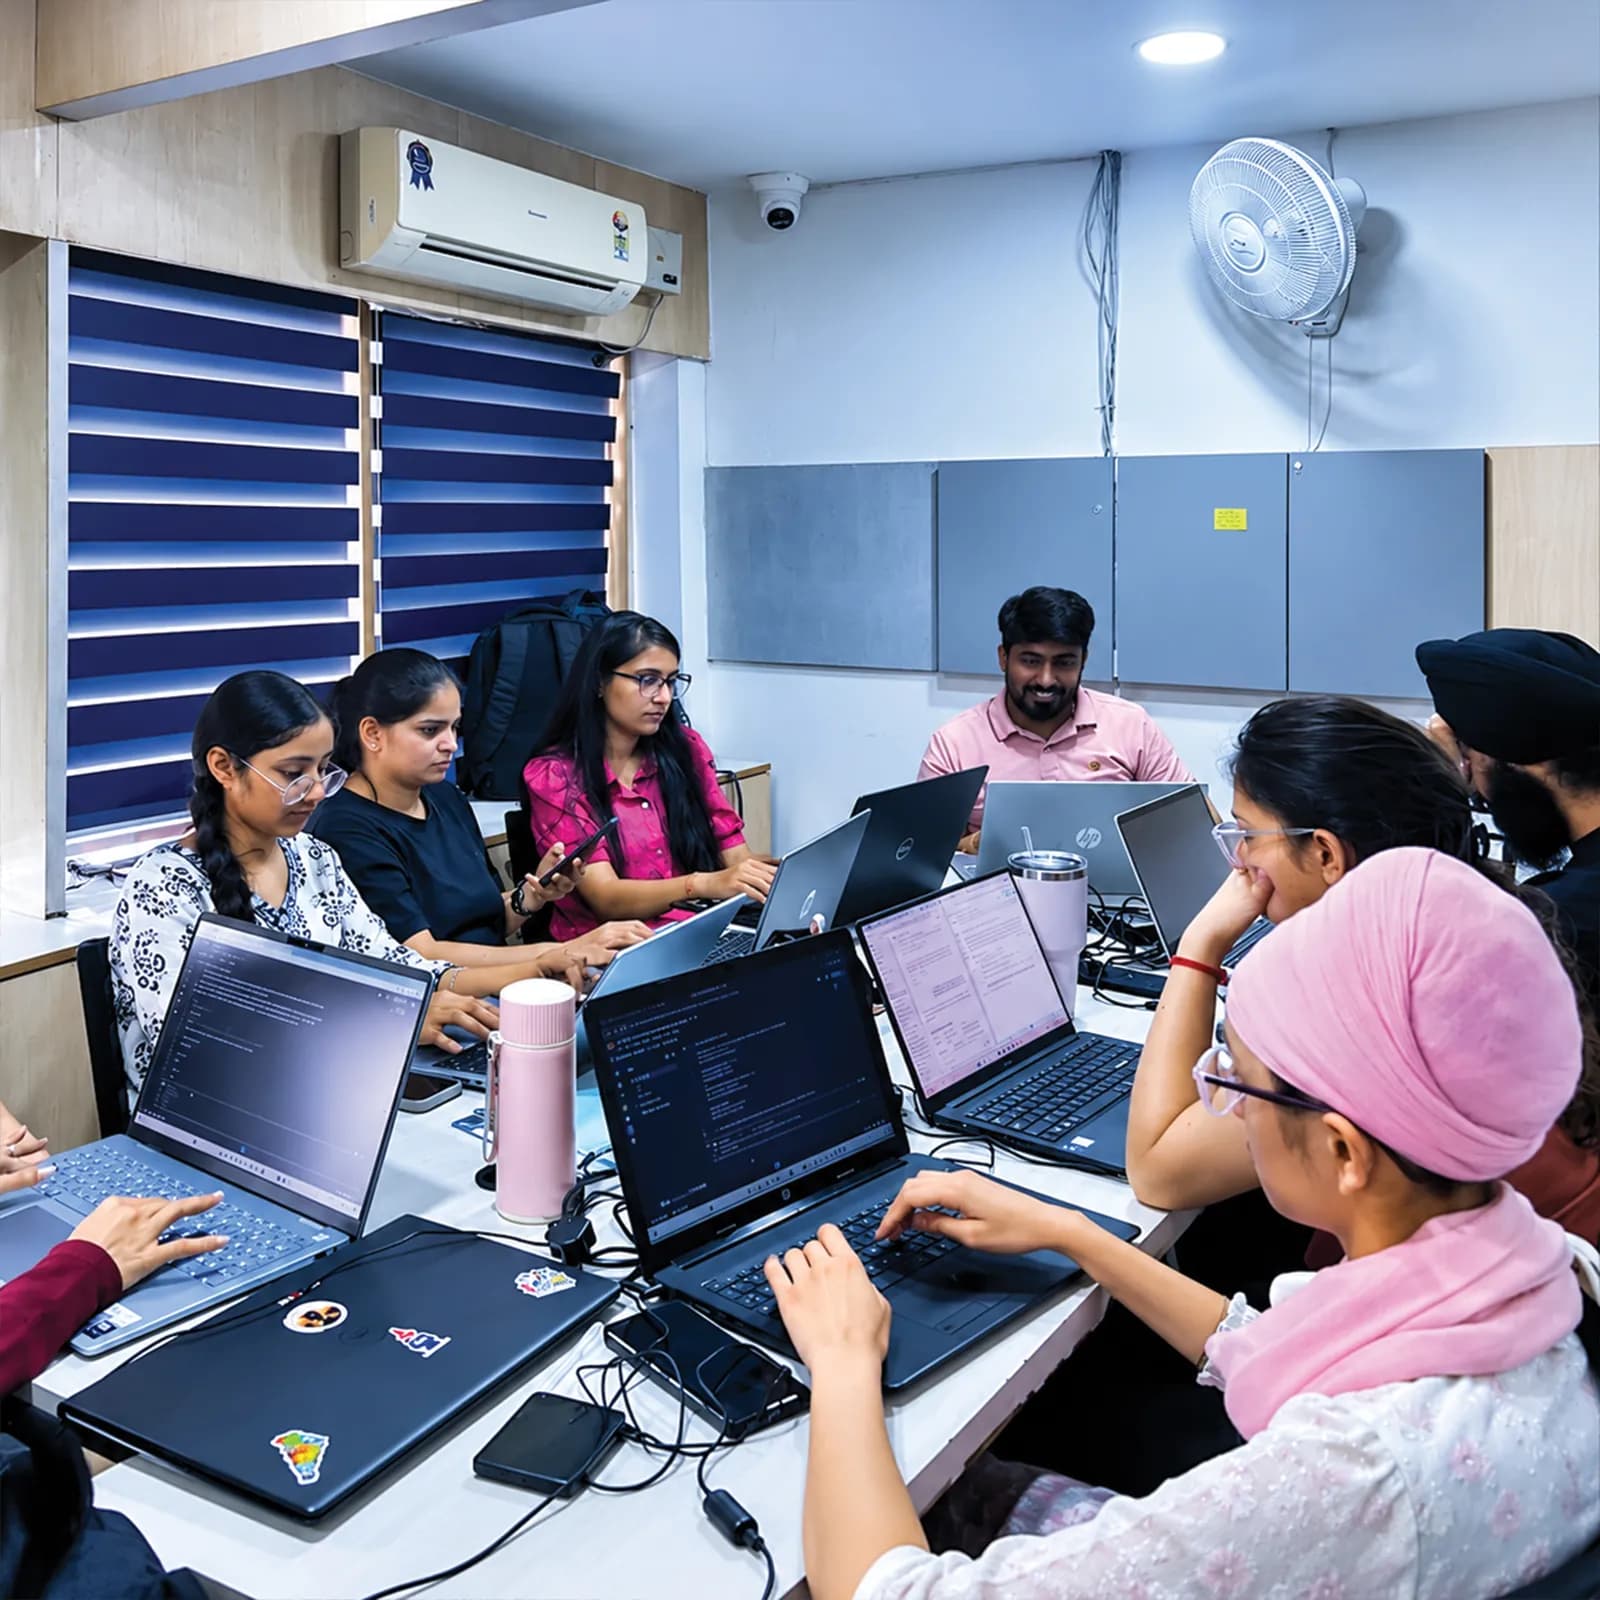
A deliverable at the end of every month, so you can see your progress and what is assessed.
Lab time with Arduino, ESP32 and Raspberry Pi, alongside Tinkercad and Wokwi simulation — confirm the hardware for your batch.
Fees, kit, documents, project expectations and how outcomes are assessed — explained before admission.
Visit the centre, meet the trainers and look at the labs and equipment before you confirm a batch.
The centre is at 2nd Floor, Crystal Plaza, SCS 78, Opposite PIMS Hospital, Jalandhar. Ask about the learning format, lab hours, counselling hours and public transport before you join, and check your travel time against your college timetable.
techcadd Jalandhar — 2nd Floor, Crystal Plaza, SCS 78, Opposite PIMS Hospital, Jalandhar, Punjab 144001Frequently asked questions
Answers can differ by degree, semester and batch — confirm any academic requirement directly with your institution.
You can enquire about the current IoT and robotics programme at techcadd. Confirm whether it is a workplace internship or industrial training.
It may suit students who want applied microcontroller, sensor and networking practice, subject to university requirements.
Yes, programming students often do well with firmware and dashboards, but may need extra time on the electronics modules. Confirm the entry requirements.
No prior electronics is assumed for the first module, which covers circuits, measurement and safety. School-level physics helps.
Arduino, ESP32, Raspberry Pi, embedded C/C++, Python, Tinkercad and Wokwi, MQTT, Node-RED, Firebase or Grafana dashboards, basic ROS concepts, Linux, Git and GitHub. Ask for the module-by-module list for your batch.
Both are microcontroller platforms programmed in C/C++. The ESP32 adds built-in Wi-Fi and Bluetooth and more processing power, which makes it common for connected IoT devices.
A Raspberry Pi is a small Linux computer. It suits gateways, local servers and camera or Python-heavy tasks, while microcontrollers suit low-power, real-time sensing and control.
MQTT is a lightweight publish/subscribe messaging protocol widely used to send data between IoT devices, brokers and dashboards.
The robotics module introduces basic ROS concepts such as nodes, topics and messages. In-depth ROS development is a further step — ask how far your batch goes.
Simulators are used first to test ideas safely; bench work follows. Ask which boards and components are available in the lab for your batch.
Ask in writing which boards and components are provided, which you must buy, and whether a recommended kit list is available.
Safe use of power supplies, lithium batteries, motors and soldering irons is taught from the first month. Ask about supervision and safety equipment in the lab.
Only if actual supervised client work is available and appropriately authorised. Ask for written details.
Confirm the exact document issued, the conditions, and whether it reflects actual work or training.
Only your college or university can confirm recognition for its academic requirements.
Request the current fee sheet and ask which services, components and assessment charges are included.
No. Evaluate any career support separately, and don't treat training as a job guarantee.
Objectives, block diagram, components, circuit design, firmware, communication, testing, results, safety considerations, limitations and references.
Send an enquiry from this page or call +91 98881 22254, share your degree and semester, and request the verified syllabus and joining details.
techcadd Jalandhar is at 2nd Floor, Crystal Plaza, SCS 78, Opposite PIMS Hospital, Jalandhar, Punjab 144001. Visit for a counselling discussion before you confirm a batch.
Apply
Looking for a 6 months IoT internship in Jalandhar, robotics industrial training or a final-semester embedded project pathway? Tell us your degree, branch, university requirements, preferred start month and learning goals, and request the syllabus, fee structure, kit details, project evaluation process and documentation before you enrol.