On this page
- Step-by-Step Guide to Building Your First iOS App
- So You Want to Build an iOS App?
- Do You Need Experience Before Starting?
- Step 1: Get Comfortable With Swift First
- Step 2: Set Up Your Development Environment
- Step 4: Pick SwiftUI If You’re Starting Fresh
- Step 5: Build Something Small — Not Something Impressive
- Step 6: Expect to Break Things — A Lot
- Step 7: Test on a Real Device, Not Just the Simulator
- Step 8: Understand What Happens Before You Hit “Publish”
- What Can You Actually Do After This?
- A Realistic Note Before You Start
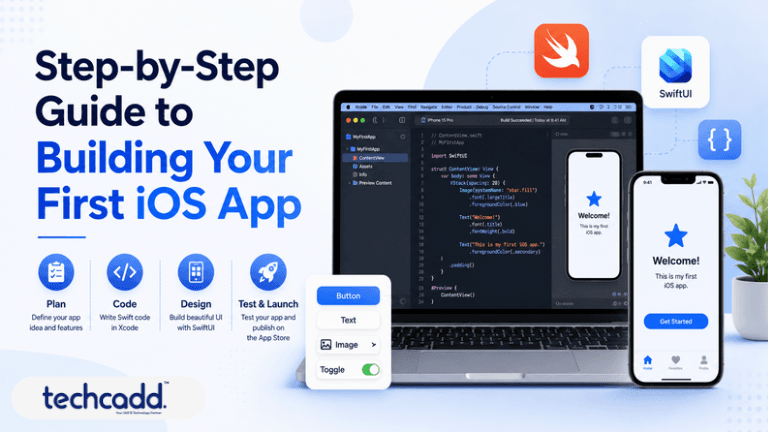
Step-by-Step Guide to Building Your First iOS App
So You Want to Build an iOS App?
Let’s be honest — the first time you open Xcode, it feels like staring into a cockpit with way too many buttons. You’re not alone if you’ve closed the laptop and thought, “maybe this isn’t for me.” Every iOS developer you admire today started exactly where you are right now.
The good news? Building your first app doesn’t require you to know everything on day one. It requires knowing what to learn first, and in what order — which is usually the part nobody explains properly.
Do You Need Experience Before Starting?
Not really. If you can follow logical steps and you’re willing to get comfortable with a little trial and error, you’re already qualified to begin. What actually helps is knowing one programming concept well — variables, loops, functions — before jumping into Swift. If you’ve dabbled in any language before, even basic Python, you’ll pick up Swift faster than you expect.
Step 1: Get Comfortable With Swift First
Before touching Xcode seriously, spend time with Swift itself. It’s Apple’s programming language, and it’s genuinely one of the more beginner-friendly languages out there — readable, clean, and forgiving. Apple’s own Swift Playgrounds app is a great place to practice without the pressure of building something “real” yet.
Most beginners rush straight to building an app and get stuck because they don’t understand basic Swift syntax. Spend a focused week or two here. It pays off later.
Step 2: Set Up Your Development Environment
You’ll need a Mac and Xcode, Apple’s official development tool, downloaded free from the App Store. Students at techcadd in Jalandhar often ask if a Windows laptop will work — unfortunately, no. iOS development is Mac-only territory, so this is one setup cost worth planning for early.
Step 3: Understand the Building Blocks of an App
Once Xcode is installed, don’t rush into coding. Open it, create a blank project, and just look around first. Every iOS app is basically built from a few repeating pieces: Views (what the user sees), View Controllers (how screens behave), and Data (the information your app works with). Once this clicks, the rest of iOS development starts feeling like assembling Lego blocks instead of decoding a foreign language.
This is usually the stage where students either get excited or get overwhelmed. If you’re confused, that’s normal — it took most developers a few projects before “MVC” or “SwiftUI views” actually made sense in practice.
Step 4: Pick SwiftUI If You’re Starting Fresh
Apple has two main ways to build interfaces — UIKit (the older method) and SwiftUI (the newer, more modern approach). For a complete beginner, SwiftUI is the better starting point. It’s more visual, requires less code to get something on screen, and the live preview feature means you can see your changes instantly without constantly rebuilding the app.
Step 5: Build Something Small — Not Something Impressive
This is where most beginners go wrong. They open YouTube, see someone build a food delivery app, and try to replicate that as their first project. Don’t. Your first app should be boring on purpose — a simple to-do list, a tip calculator, or a basic counter app. The goal isn’t to impress anyone yet. It’s to understand how a button tap actually changes something on screen, how data moves between views, and how your app responds to user actions.
Step 6: Expect to Break Things — A Lot
Nobody tells beginners this enough: your app will crash. Constantly. You’ll stare at a red error message with no idea what it means. This isn’t a sign you’re bad at this — it’s literally how every developer learns. Reading error messages carefully, and getting comfortable Googling them, is a real and necessary skill, not a shortcut.
Step 7: Test on a Real Device, Not Just the Simulator
Xcode’s simulator is great for quick checks, but it doesn’t tell you the full story. Things like touch responsiveness, camera access, or how your app actually feels in your hand only show up when you test on a real iPhone. If you don’t own one, that’s fine — the simulator will get you through most of your learning phase. Just know that before any app goes live, real-device testing is non-negotiable.
Step 8: Understand What Happens Before You Hit “Publish”
A lot of students assume building the app is the hard part, and publishing is just a formality. It isn’t. Apple reviews every app before it goes live on the App Store, checking for bugs, design consistency, and policy compliance. You’ll also need an Apple Developer account, which comes with an annual fee. None of this should scare you — it’s simply part of the process, and knowing it exists beforehand saves you from last-minute surprises.
What Can You Actually Do After This?
Once you’ve built a few small apps and understand the basics comfortably, you’re in a good position to explore real opportunities — freelance app projects, internships, or contributing to open-source iOS projects. Companies don’t expect beginners to know everything; they expect you to understand fundamentals and show you can learn.
A Realistic Note Before You Start
Building your first iOS app will test your patience more than your intelligence. You’ll feel stuck, then suddenly something will click, and that feeling is addictive in the best way. Students at techcadd in Jalandhar who stick with the basics — rather than rushing to “impressive” projects — consistently end up with a stronger, more practical understanding of iOS development than those who skip ahead.
Start small. Stay consistent. The rest follows.
Comments
Loading…